HOW TO SET UP A KNOWLEDGE BATTLE?
The battle is configured in the Battles tab in the administrator panel:
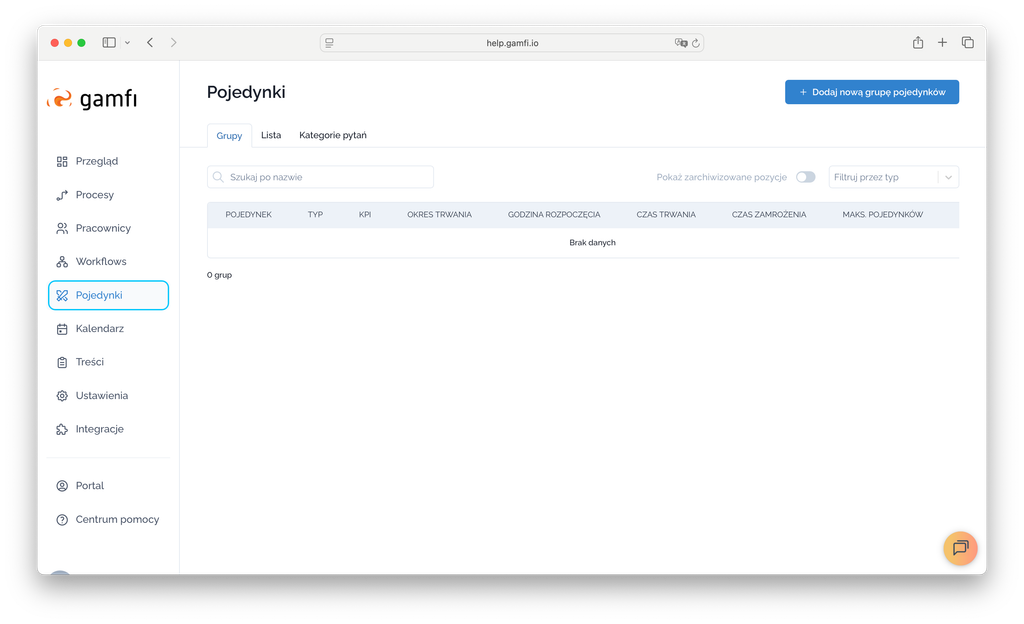
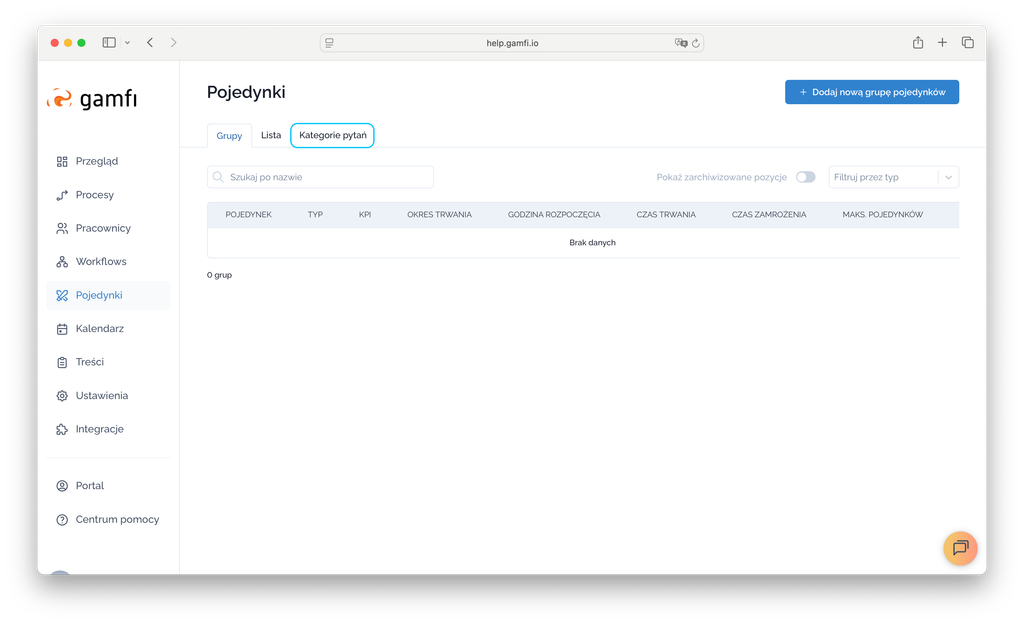
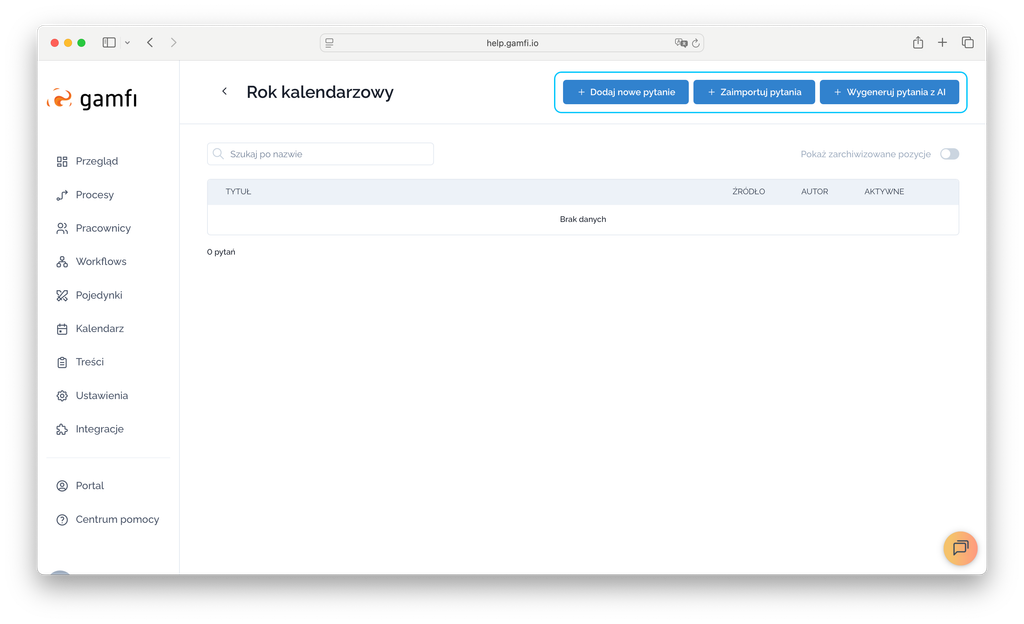
To configure the Battle, first go to the Question Categories tab and create a database of questions that will then be used to prepare the Battle.
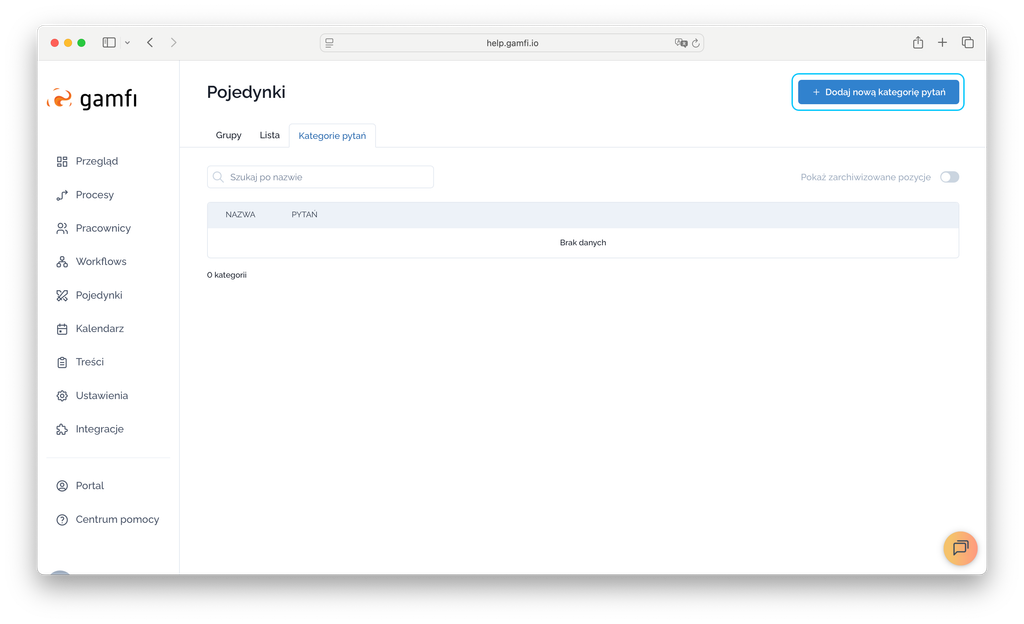
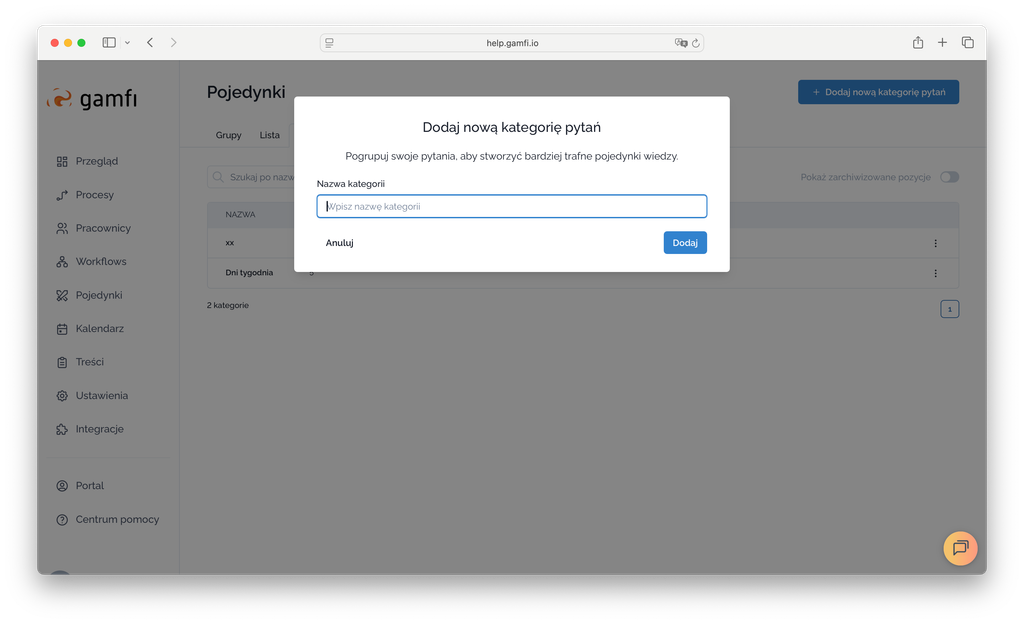
Start creating a Question Category by clicking the “Add a new question category” button:
In the next step, enter the name of the Battle:
You can configure the question database in three ways:
- Add new questions manually,
- Import questions with answers from a file,
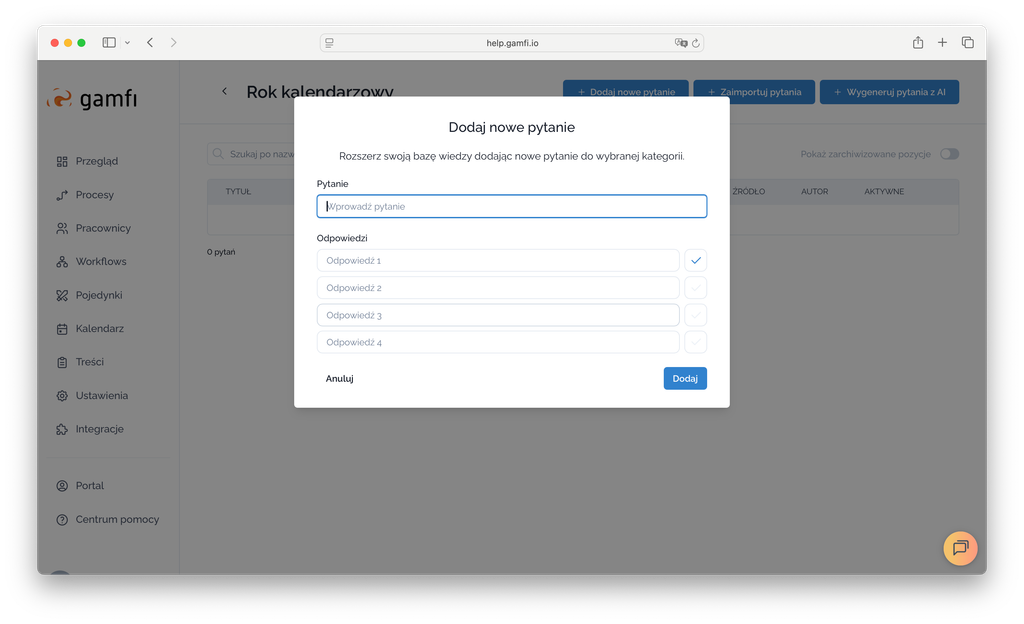
Ad.1. ADD QUESTIONS MANUALLY
When creating a question manually, remember to configure 4 answers and select which one is correct:
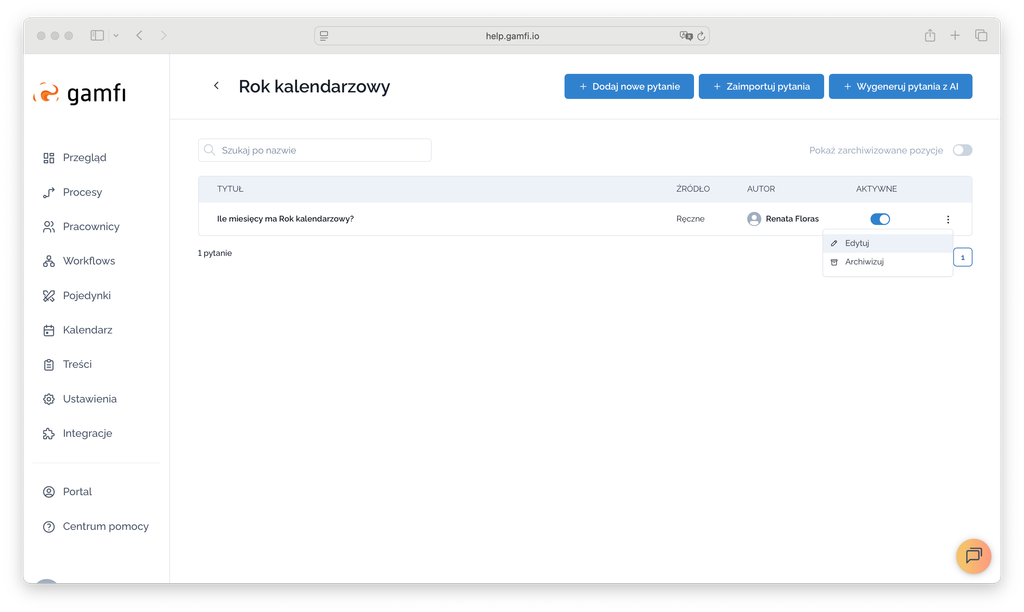
Now you can see that it was created "Manually" and who created it. Using the three dots on the right side of the question, you can edit or archive it if necessary.
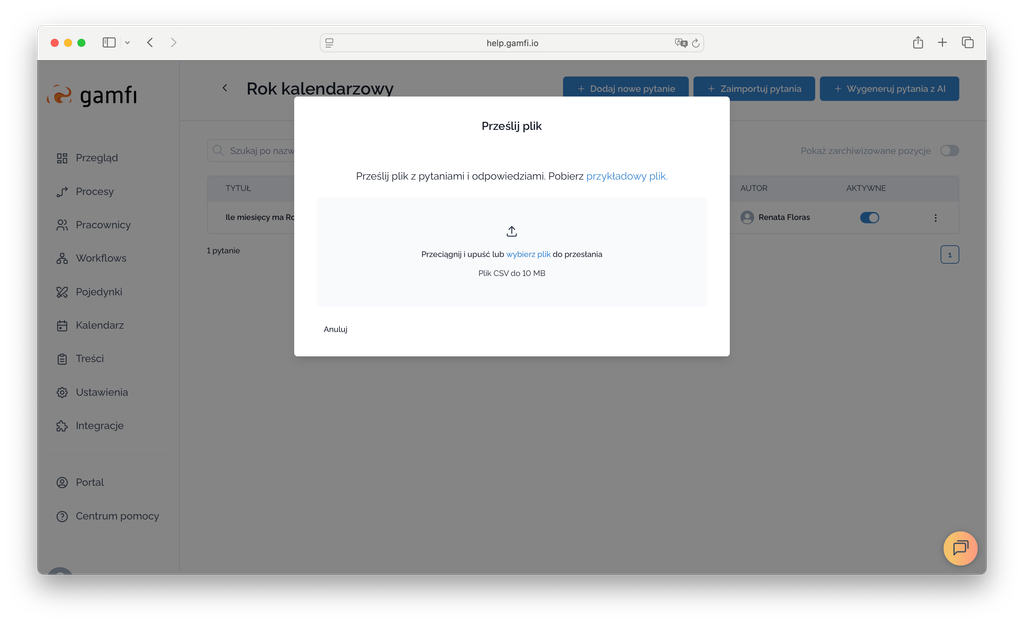
Ad.2. IMPORT QUESTIONS FROM A QUESTION FILE
To import questions from a file, simply create it, save it in CSV format on your computer, drag and drop it into the designated field. You can use the sample file.
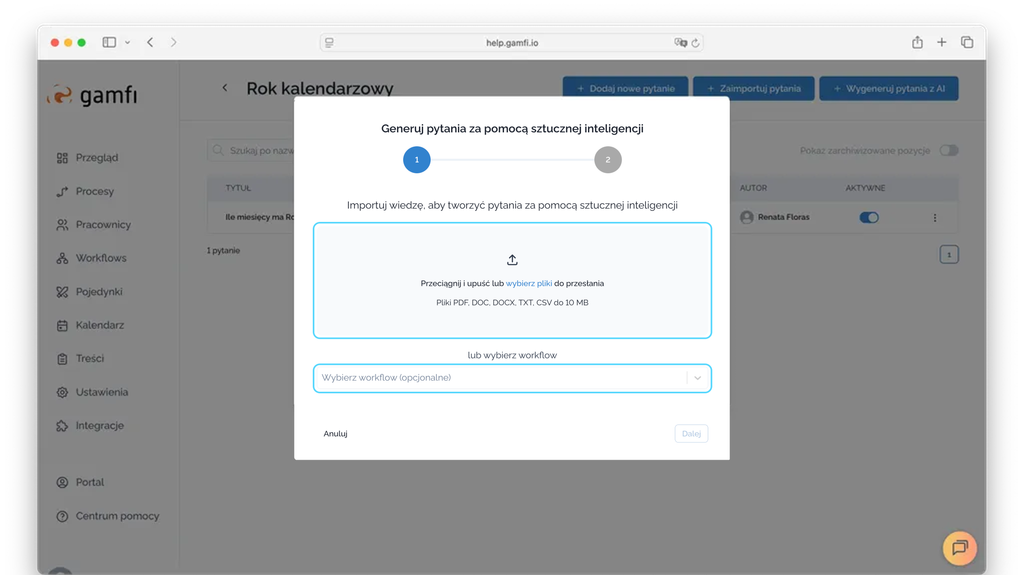
Ad.3. GENERATE QUESTIONS USING AI
To create questions using AI, you can:
-
Create a document(s) with substantive content and add it here using the drag-and-drop mechanism. Documents can be in PDF, DOC, DOCX, TXT, or CSV formats and must not exceed 10MB;
-
or specify a workflow from which AI will create questions;
-
or combine these two options, i.e., add documents and specify a workflow as the basis for creating questions.
Once we have created the Question Categories, we can return to the “Groups” tab and start configuring the Battle.

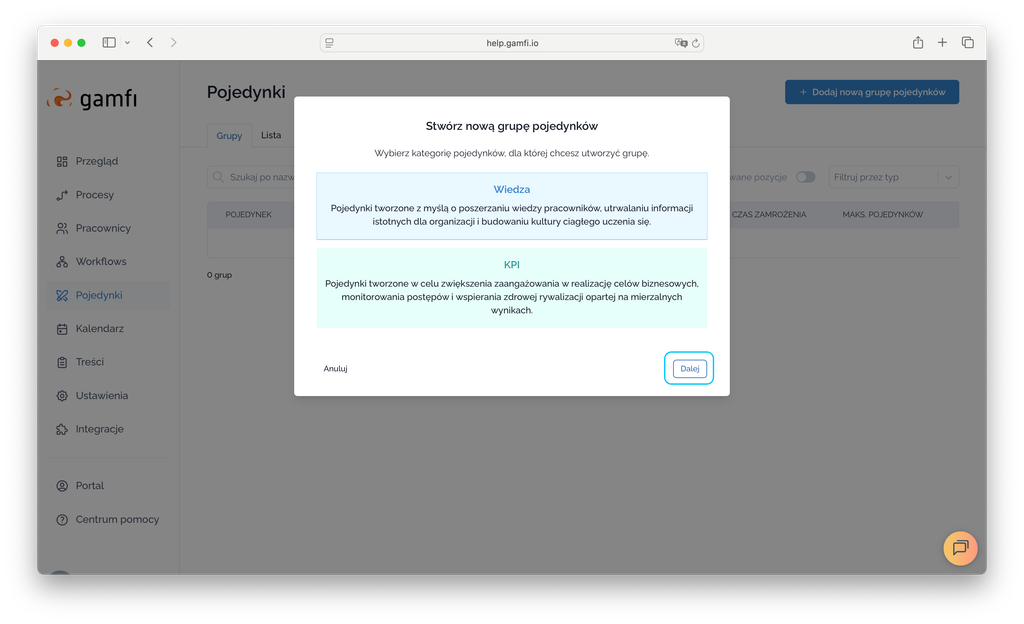
After clicking the "Add a new battle group" button, the first configurator window will appear, allowing you to choose whether you want to run a Knowledge Battle or a KPI Battle. In this article, we'll focus on the Knowledge Battle. Select the Battle type and click "Next":
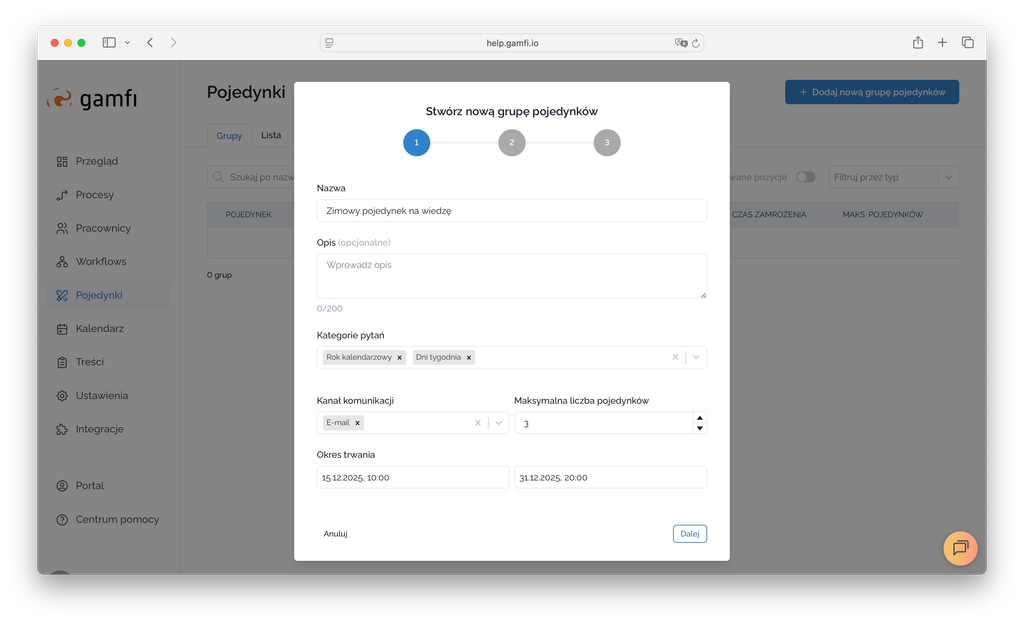
The next step is to configure the Battle parameters:
-
Name,
-
Description - this is an optional field,
-
Specify the Question Categories to be used for the Battle - there can be one or more,
-
Communication Channel - here you decide whether notifications about the Battles will be sent via Email or WebPush - you can choose one or both options,
-
Maximum Number of Battles - here you specify how many Battles a person can participate in simultaneously,
-
Duration - here you define the start and end date and time of the competition.
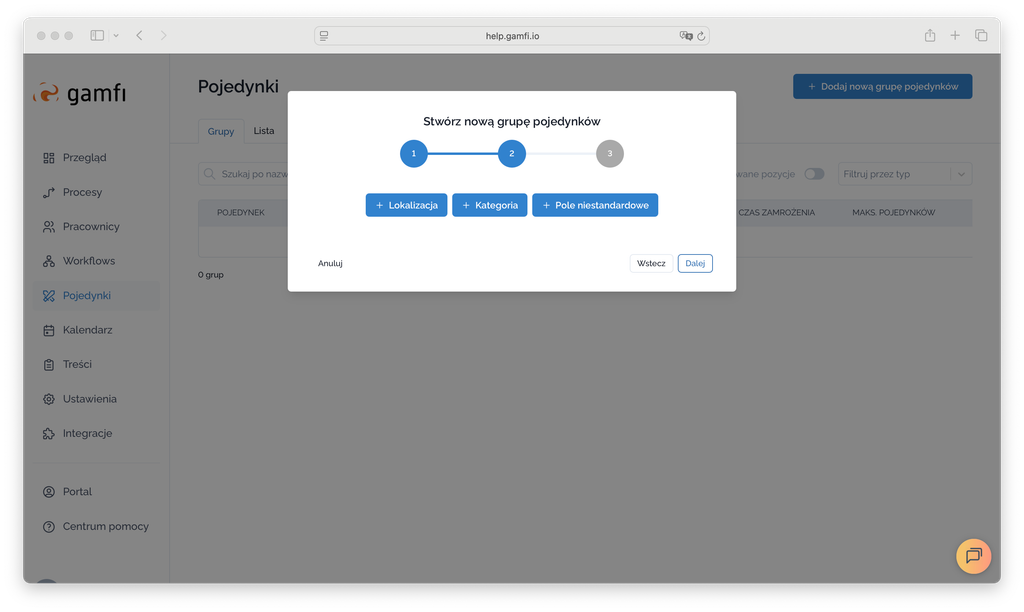
In the next step, you can define the conditions for participating in Battles based on Locations, Categories and/or custom fields, which you can read more about in the “Actions: Configuration and Targeting” module.
You can also choose one of the available icons or add your own:

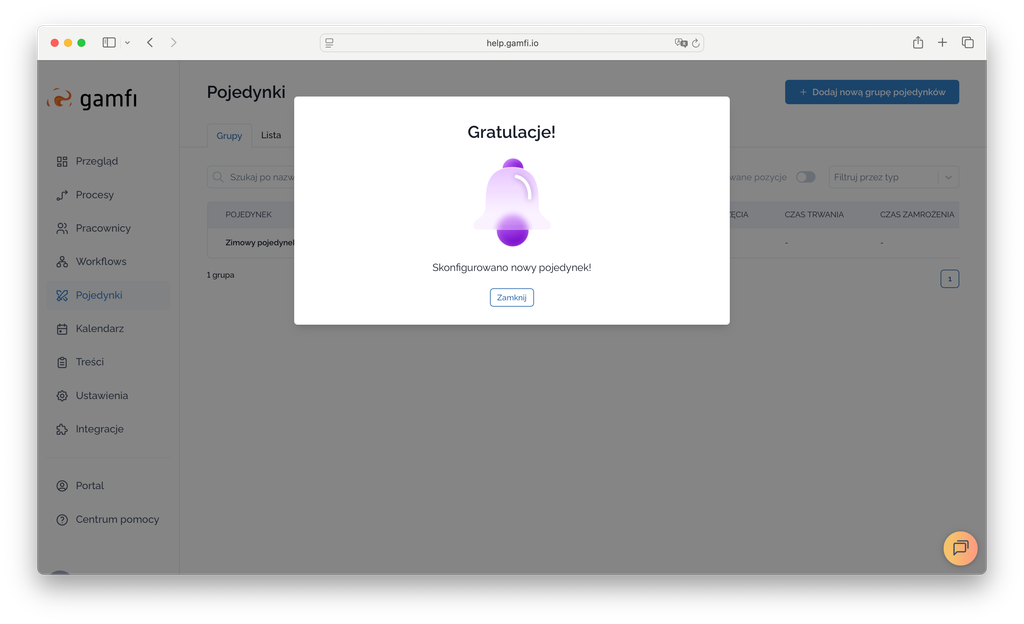
And that's it! The Battle has been set up:
WHAT DOES A BATTLE LOOK LIKE FROM A PLAYER'S PERSPECTIVE?
A "Knowledge Battle" button has appeared on the menu bar of the User Portal: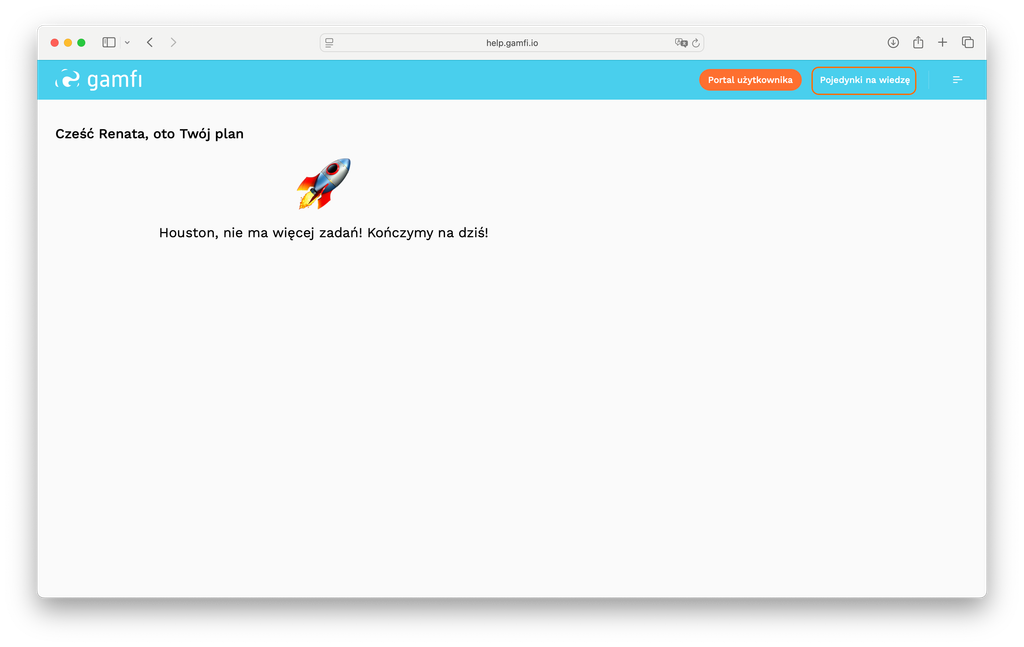
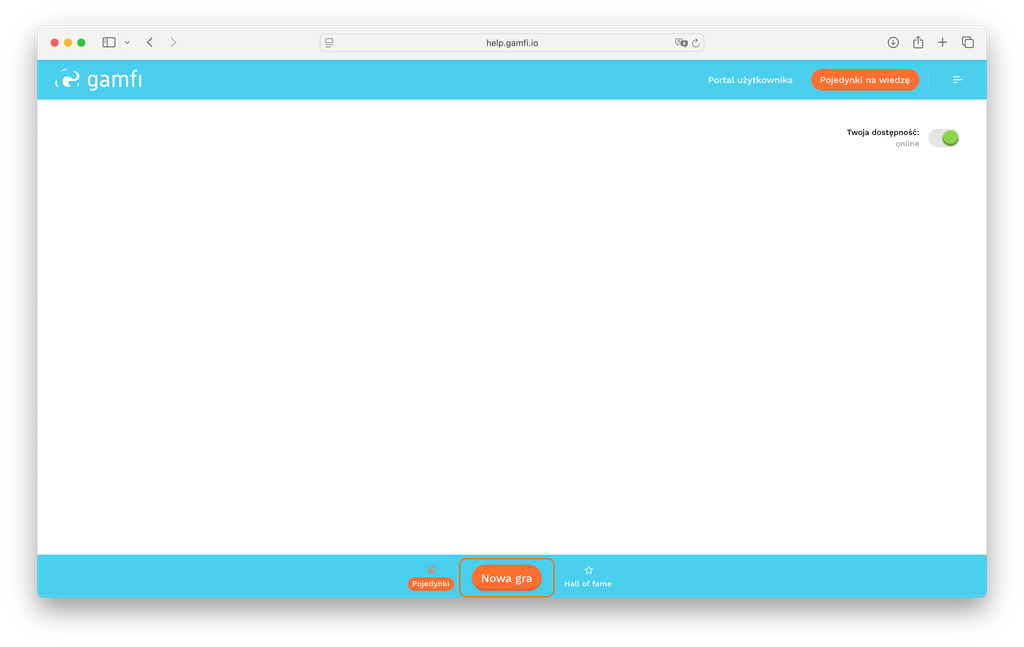
After clicking the button, a screen will appear allowing you to initiate a Battle. Simply click "New Game"...
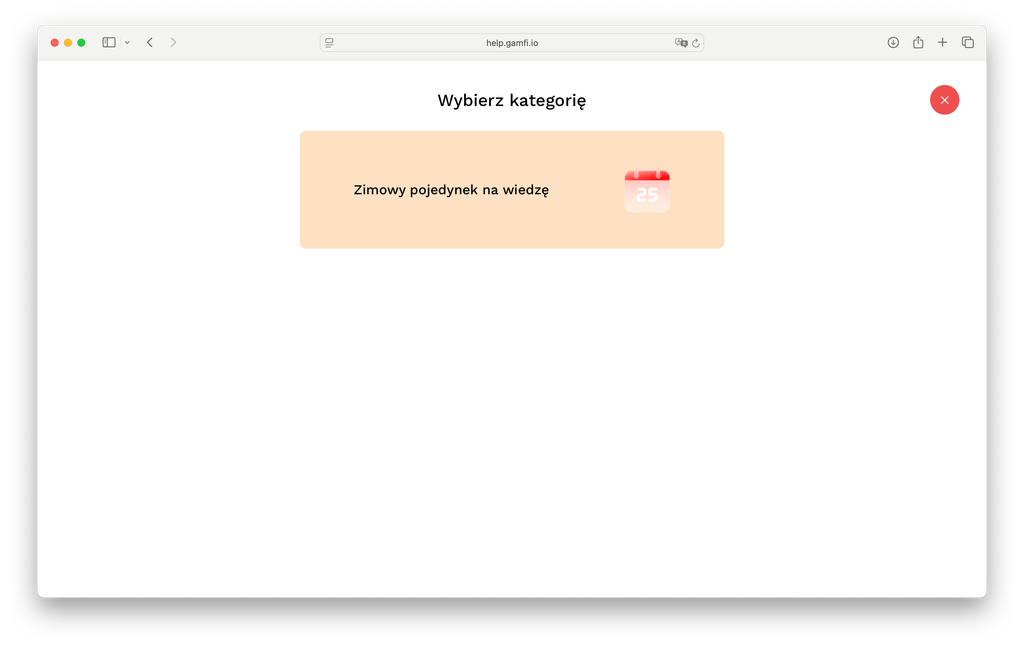
…and select a question category. There's only one set of questions prepared. The Battle will start after clicking the "Winter Knowledge Battle" tile.
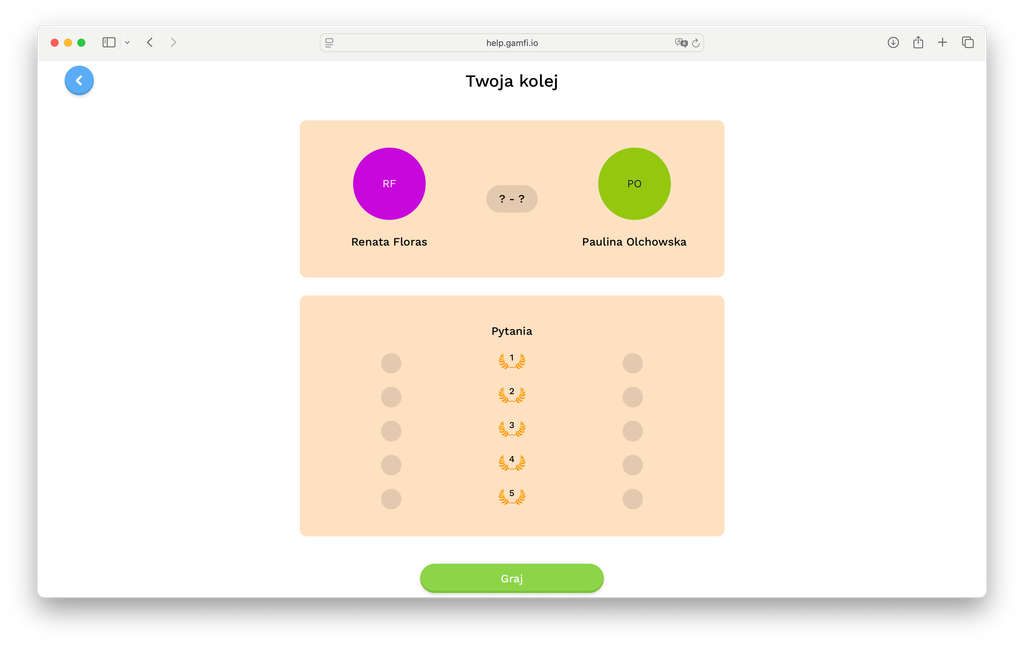
The Battle has been initiated. The system has drawn Player #2. To start the Battle, simply click "Play."
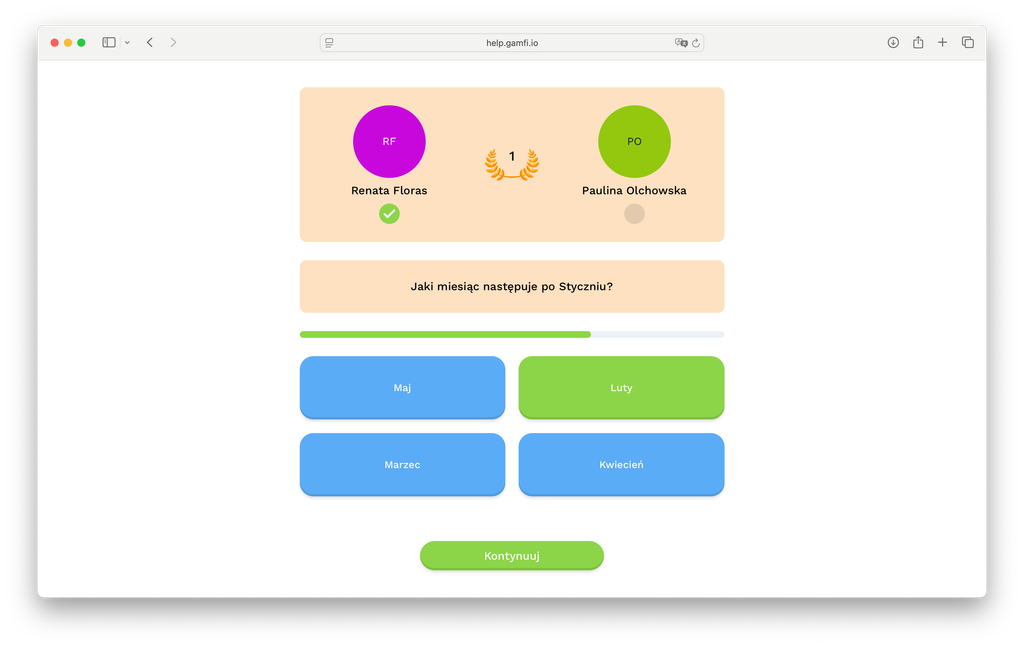
Questions appear automatically, and each question is timed. A progress bar indicates the elapsed time. Only one answer is correct.
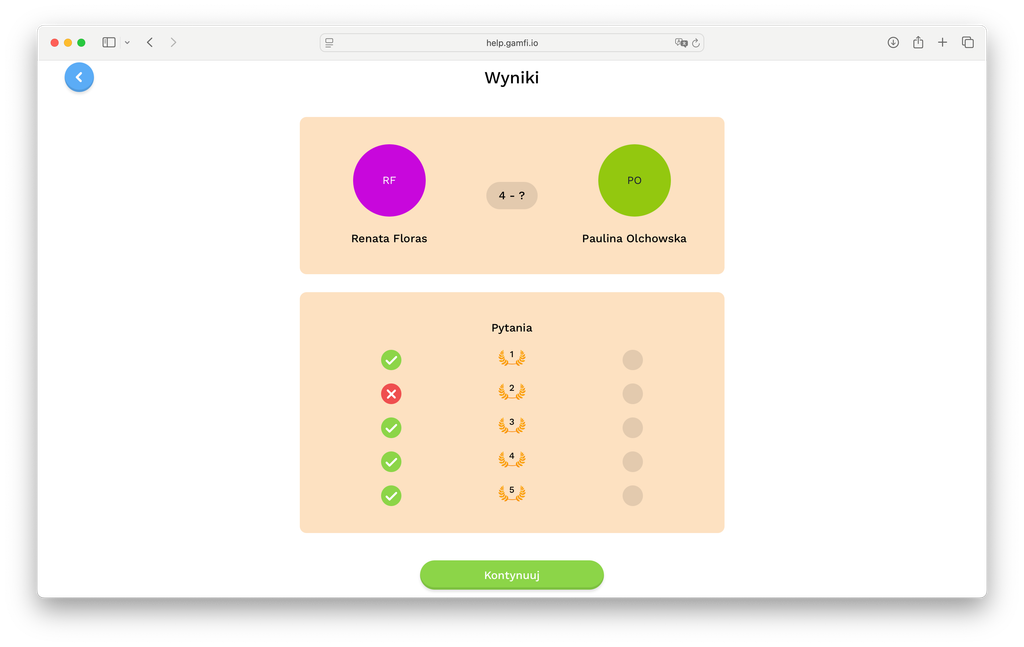
At the end, a summary of the Battle appears. Player #1 has completed their task, now it's time for Player #2.
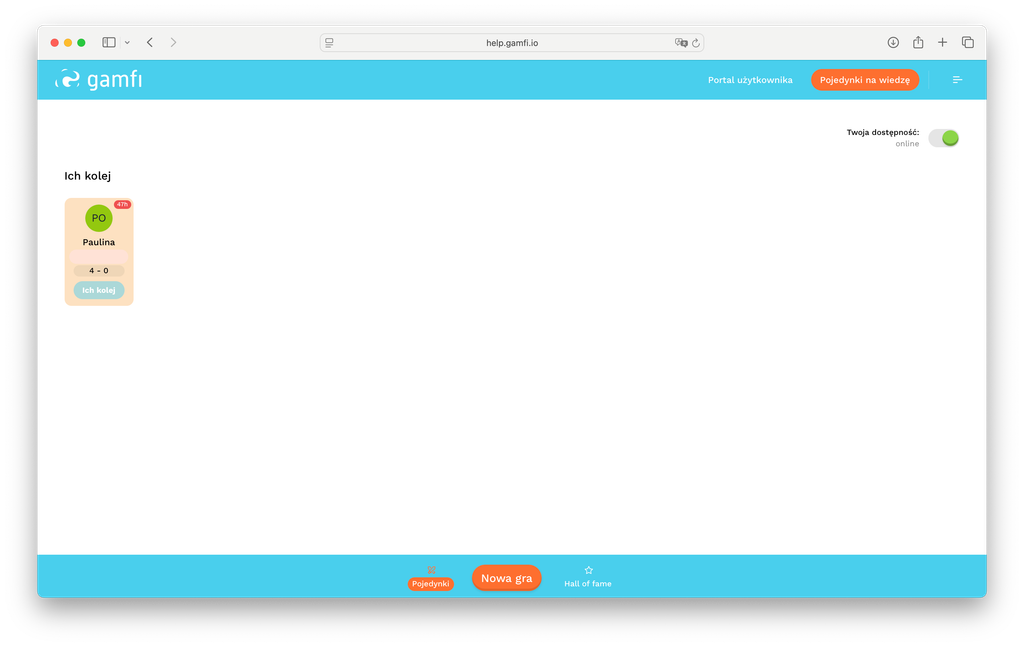
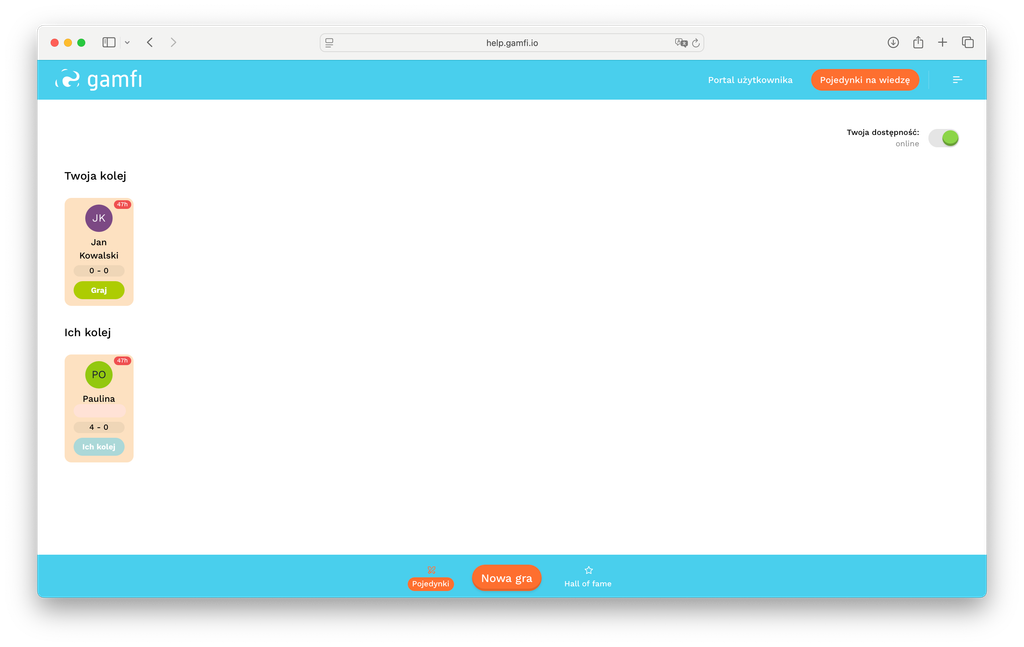
Player #1 sees on the Dashboard that Player #2 hasn't yet taken the challenge. If, when setting up the Battle, the administrator decided that the Employee can participate in more than one Battle at a time, a "New Game" button will appear at the bottom of the screen, as shown in the image below:
If Player #1 initiates another game, both Battles will be visible on the Desktop:

Battle statuses:
| Pending | – Battles that await the decision of the challenged player (Player #2), e.g. acceptance or rejection of the competition. |
| Accepted | – Battles that the challenged player (Player #2) has accepted and are ready to begin. |
| Ongoing | – Battles that are currently taking place and their results are constantly updated. |
| Rejected | – Battles that were rejected by the challenged player (Player #2). |
| Canceled | – Battles cancelled by the challenger (Player #1) before the challenged player (Player #2) made a decision. |
| Cleared | – Battles that have been completed and finally settled. |
Notifications in Battles
- Notifications work via two channels: WebPush and email. Both are configurable in the Battle group settings in the dashboard. They can operate together or independently.
- You can define which days of the week Battles should start. If you want Battles to start only on weekends (or, for example, only on Mondays), simply configure this in the Battle group settings. This allows you to organize, for example, weekend Battles or weekly Battles that start only on, for example, every Monday.
- The auto-accept mechanism allows you to specify in the Battle group settings that all Battles will be automatically accepted by the app. This means you skip the step of accepting/rejecting Battles. This feature is optional, but it significantly increases the number of Battles started and accepted.
- Notifications are sent to Battle participants immediately after the Battle starts, according to the following rules:
| A moment of challenge | - Player #1 gets a notification when challenged by Player #2 |
| The moment of acceptance/rejection | - Player #1 gets a notification when Player #1 rejects or accepts a Battle |
| The moment of starting | - both Player #1 and Player #2 receive a notification when the match starts |
| The moment of ending | - both Player #1 and Player #2 receive a notification at the end of the Battle start |